
How to install or renew SSL certificate in Exchange 2010
You will need to create and assign a new SSL certificate if you’re putting up a new Exchange server into production or renewing it for an existing server. The steps are fairly straightforward, however it may seem daunting and completely foreign for new users who aren’t familiar with certificates.
This guide will show you how to create a CSR (Certificate Signing Request) using your Exchange server and subsequently generating a new SSL cert and installing it.
Here’s a brief overview of what we will be doing in this guide:
- Create a certificate signing request (CSR) in Exchange.
- Buy a new certificate from one of many SSL providers (GoDaddy in this case - process should be similar for other providers).
- Use the CSR to create a new certificate on GoDaddy and download it
- Install this in our Exchange server.
What you need:
- Microsoft Exchange Server
- In this guide, we are using Microsoft Exchange 2010.
- A commercial Certificate Authority such as DigiCert, GoDaddy, etc.
- In this guide, we are using Godaddy.
Step 1:
The first step is to generate a Certificate Signing Request. This is a requisite for generating your SSL certificate.
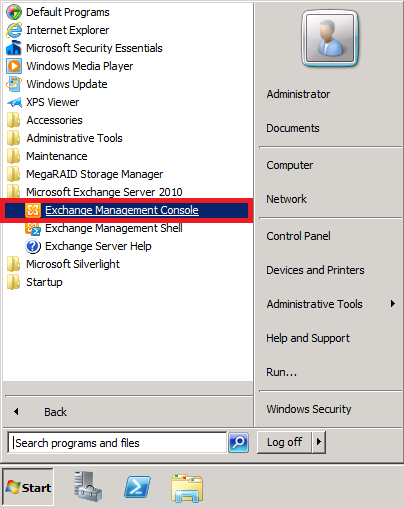
Open up your Exchange Management Console
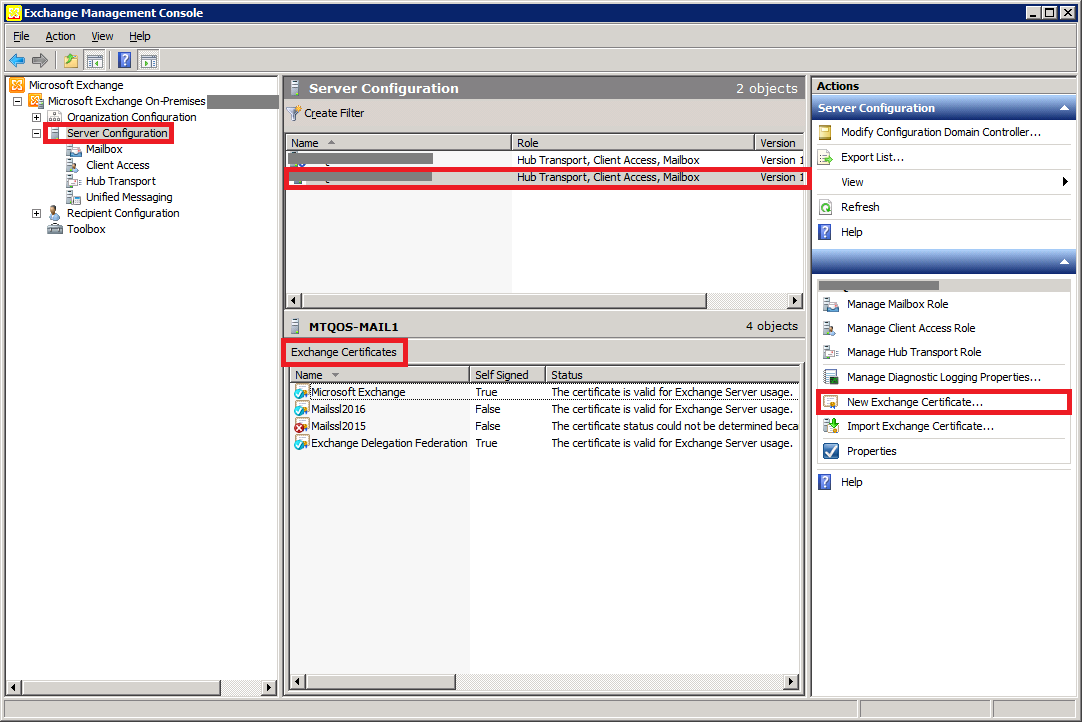
Step 2:
Navigate to Server Configuration > Select your server (from the Server Configuration list) > Exchange Certificates tab and click on New Exchange Certificate.
Step 3:
In the New Exchange Certificate Wizard, enter a name for your certificate. It can be anything you want. Click Next.

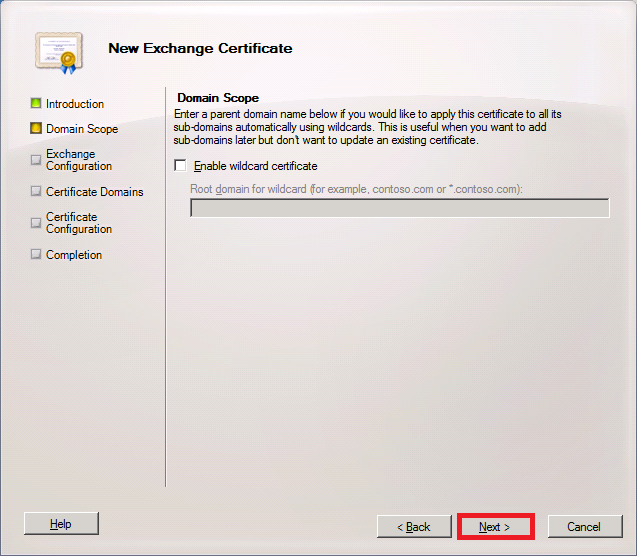
Step 3:
If you want to apply the certificate to all your sub domains, check Enable wildcard certificate. In my case, I wish to apply this certificate to 2 subdomains (not all), so I leave it unchecked.
Step 4:
On the next page, you’ll need to provide your Exchange Server configuration. Select whatever is applicable for each section.
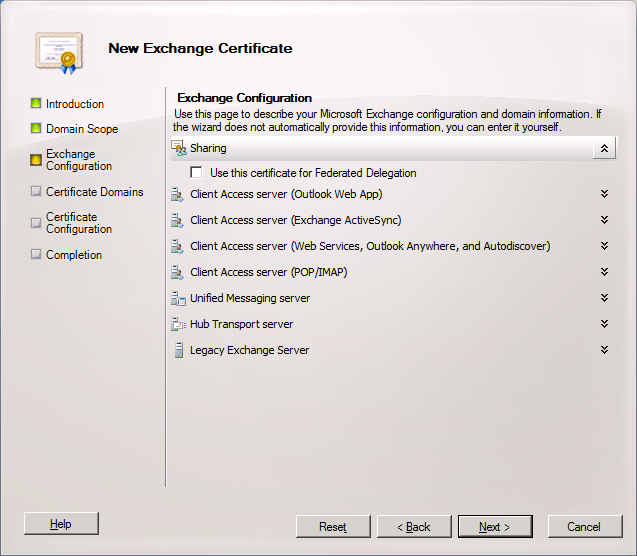
In my case, OWA (Outlook Web App/Access) is being accessed from the web. This is why I enable the second option “Outlook Web App is on the Internet” in the below image. The URL should be automatically populated.
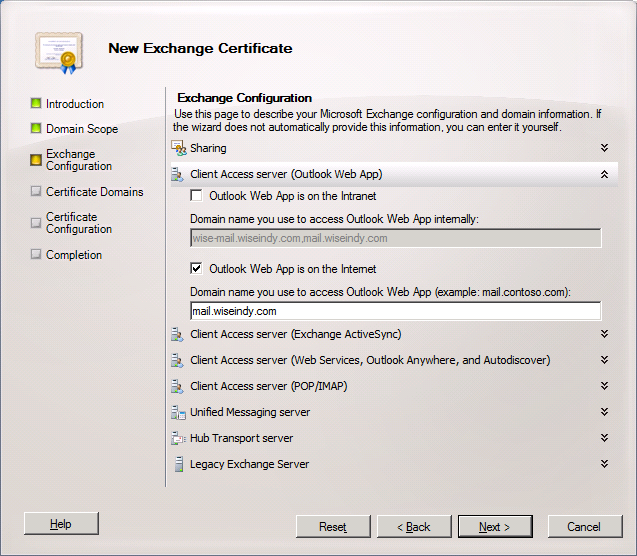
Go through each of the sections below and verify if everything you need is selected. In my case, I didn’t need to change anything other than the Outlook Web App part in the above step. I left everything else as it is.

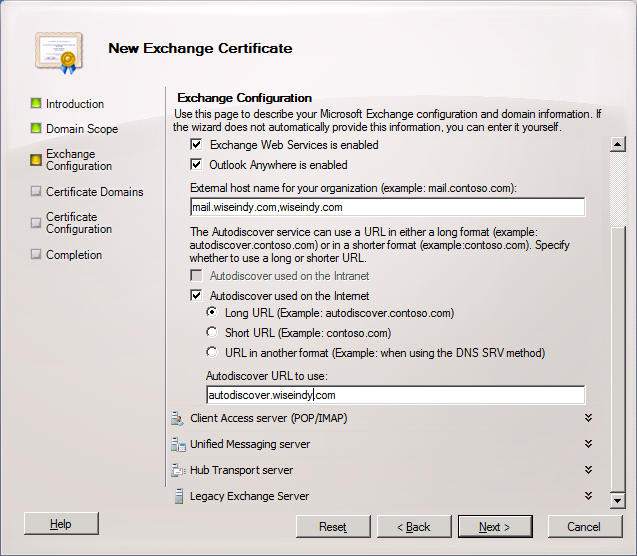
Some more pics to help you cross-verify your info.
If you use POP/IMAP, check the appropriate check boxes or leave them unchecked (as in my case since I don’t use it).
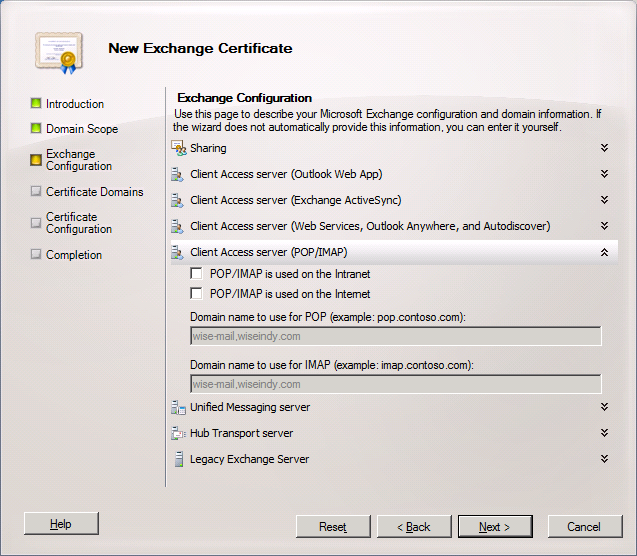
Click Next.

Step 5:
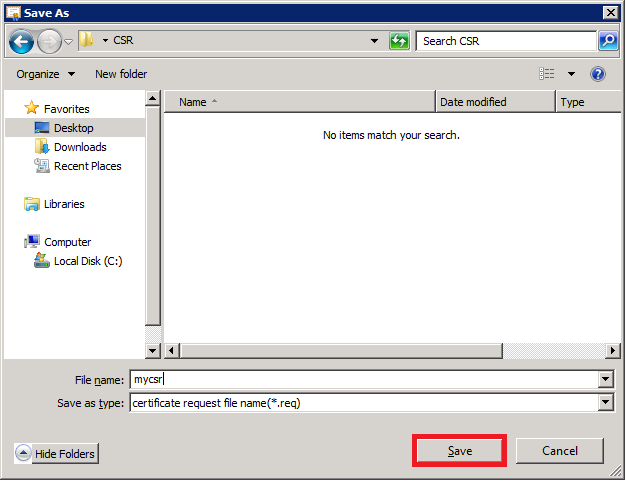
On this page, enter the details of your organization. Everything should be self-explanatory. At the bottom it asks you to specify the location of the Certificate Request File Path also known as a Certificate Signing Request or CSR in short.
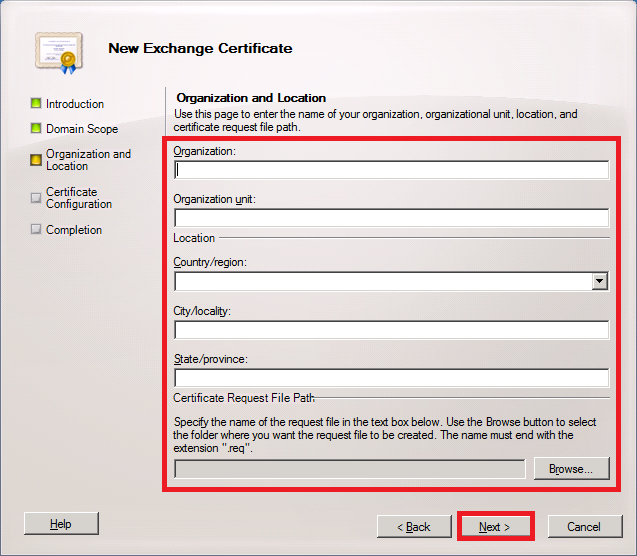
Specify the location and click Save.
Verify the information and click New.

Step 6:
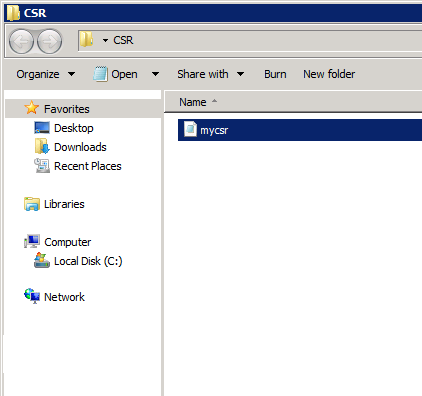
If all goes well, which it should, you will find that your CSR is generated and saved it in the location you specified. It’s basically a text file with a .req extension. We will need this file in a while.
Step 7:
Log in to your SSL provider and buy an SSL certificate if you haven’t bought one already.
Make sure you buy a Unified Communications Certificate (UCC) (also known as a Multiple Domain SSL or SAN certificate). A UCC/SAN certificate will allow you to secure multiple domains. You need this for Microsoft Exchange. More information here: https://www.godaddy.com/help/what-is-a-multiple-domain-ucc-ssl-certificate-3908
In this tutorial, I’m using GoDaddy, but the steps should be more or less the same for other providers.
Step 8:
After you buy your SSL certificate, you’ll have to provide it your CSR that was generated in Step 6.
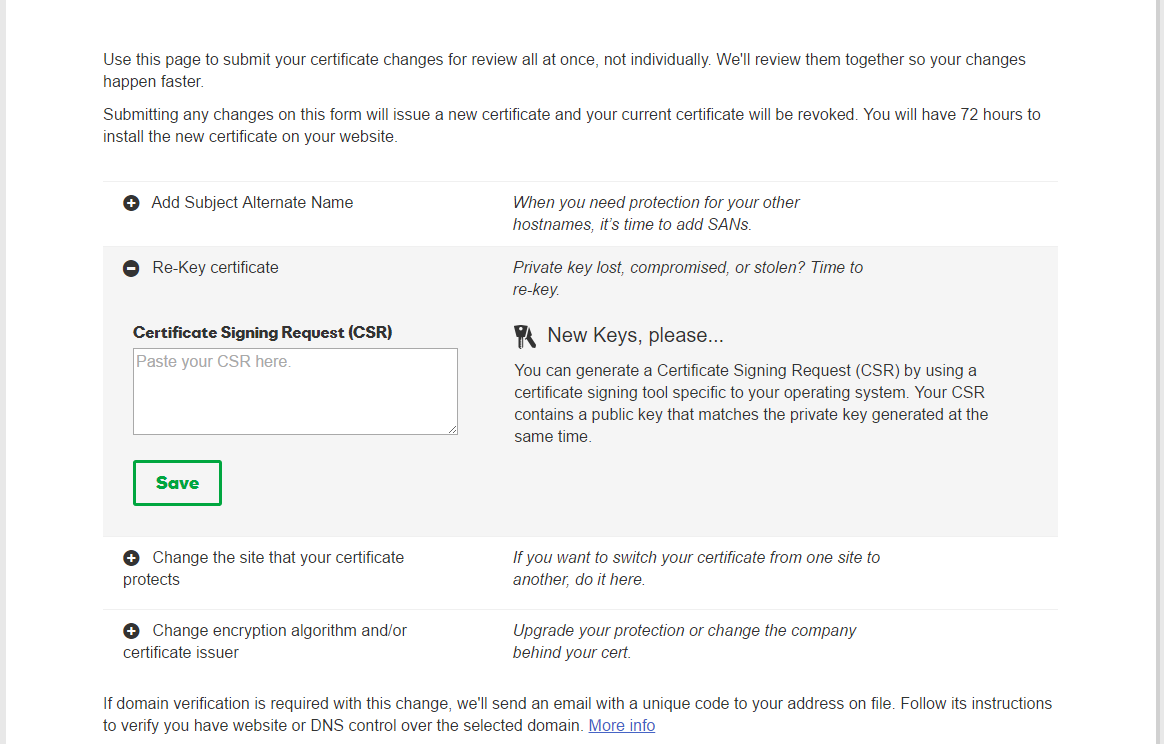
In my case, I’m renewing my certificate instead of purchasing a new one, so some screens may be different for you. If you’re renewing your certificate, you’ll have to re-key your certificate. Again, that means you have to provide your CSR from step 6.
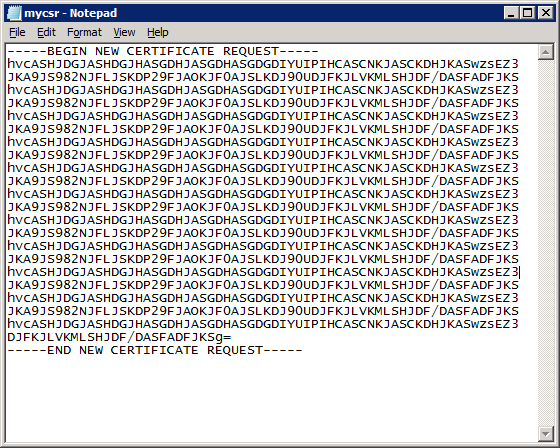
Login to your SSL provider. Open your CSR (.req) file with notepad. Copy everything and paste it wherever your SSL provider asks you to.
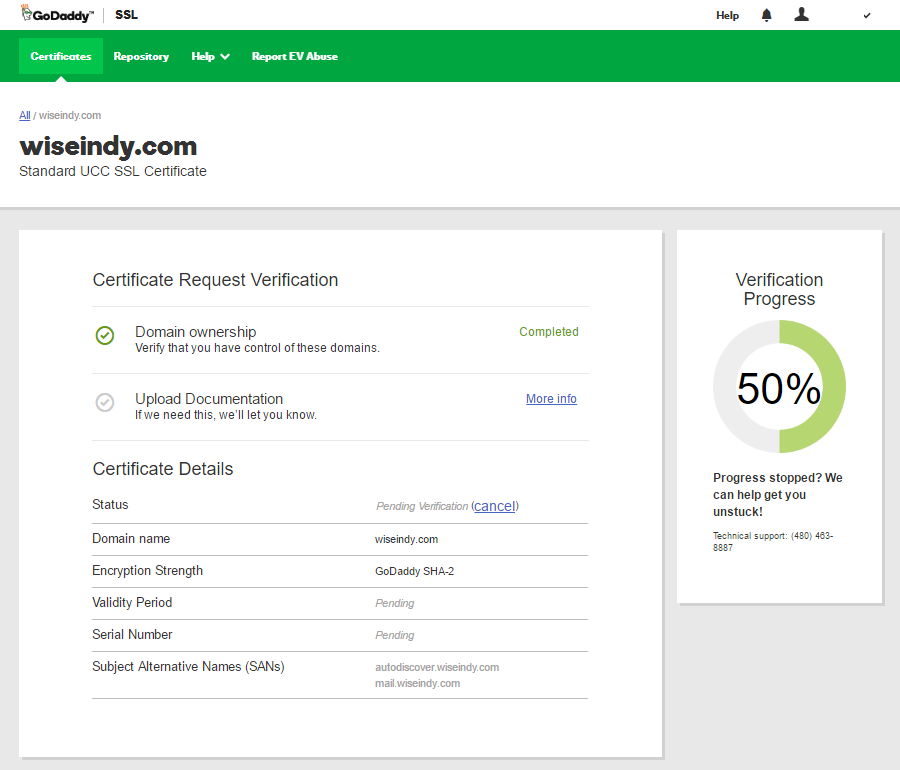
Step 9:
Once you provide your CSR, you’ll have to wait for a bit till your domain and other details are verified. You may even need to prove your domain ownership. In case you have to, then your SSL provider will give you the steps to do so.
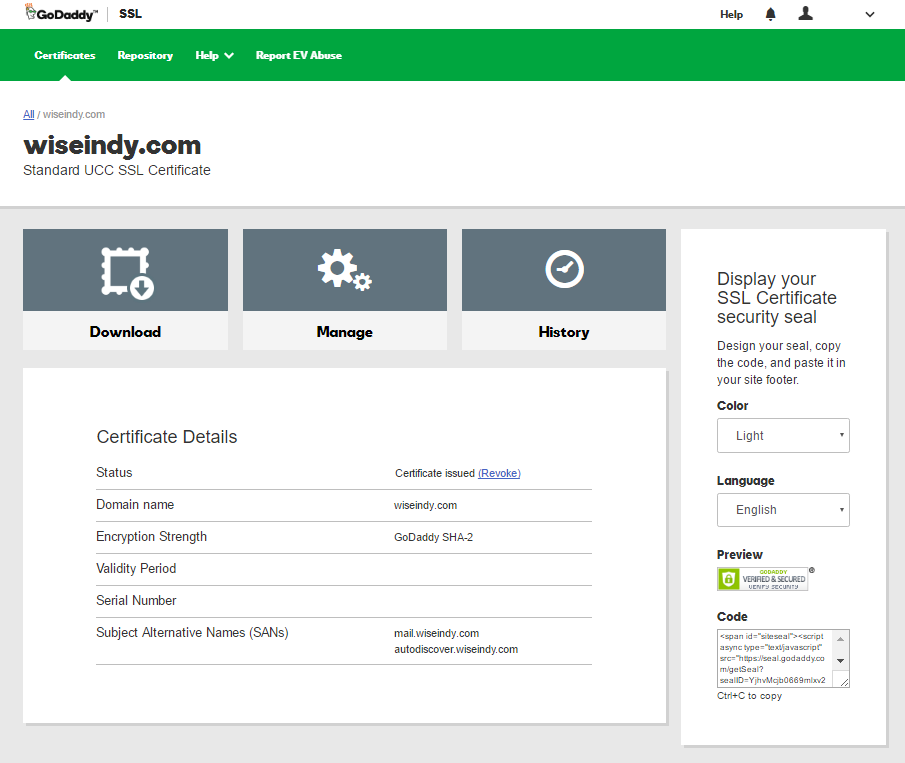
Step 10:
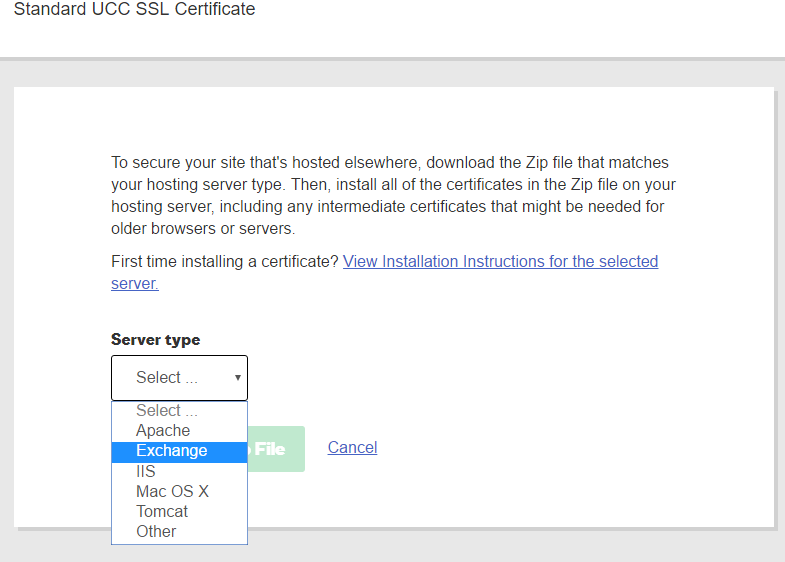
Once your certificate is ready, click the Download button.
From the server type drop down, select Exchange and click Download File. It will be a zip with two files. Extract it and copy this over to your Exchange server.
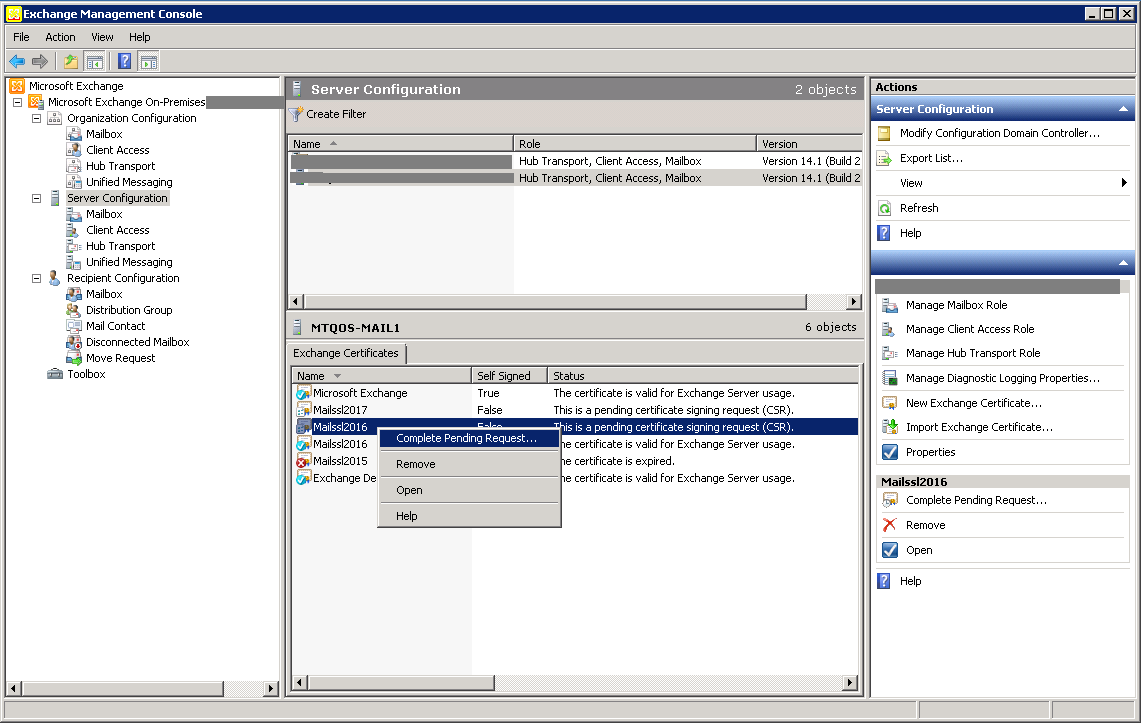
Step 11:
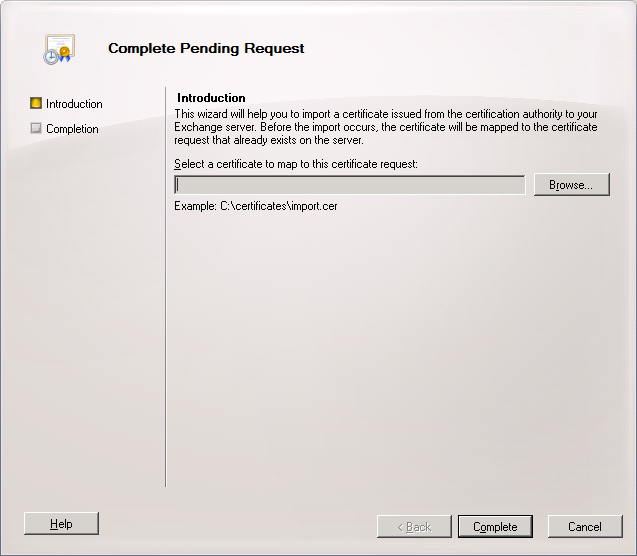
Go to your Exchange server. Right-click your certificate in Exchange Management Console and select Complete Pending Request…
Step 12:
Click the Browse button in the window that pops up.
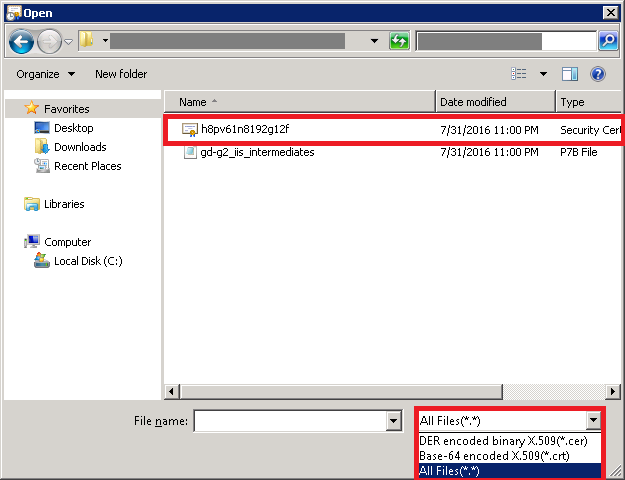
In the Browse window, select All Files(.) and then choose your certificate file that you received from your SSL provider (GoDaddy).
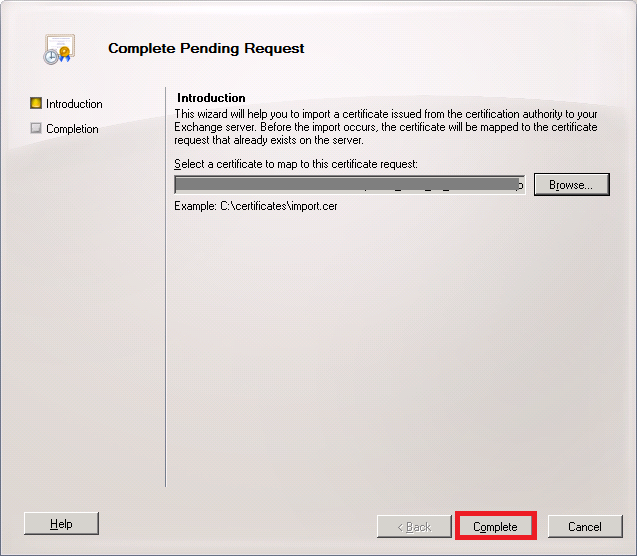
Click Complete.
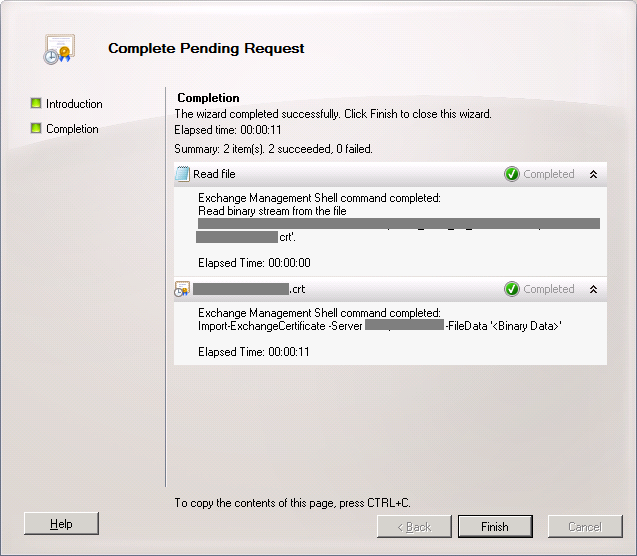
If everything goes well, you’ll see the following screen. Click Finish.
Step 13:
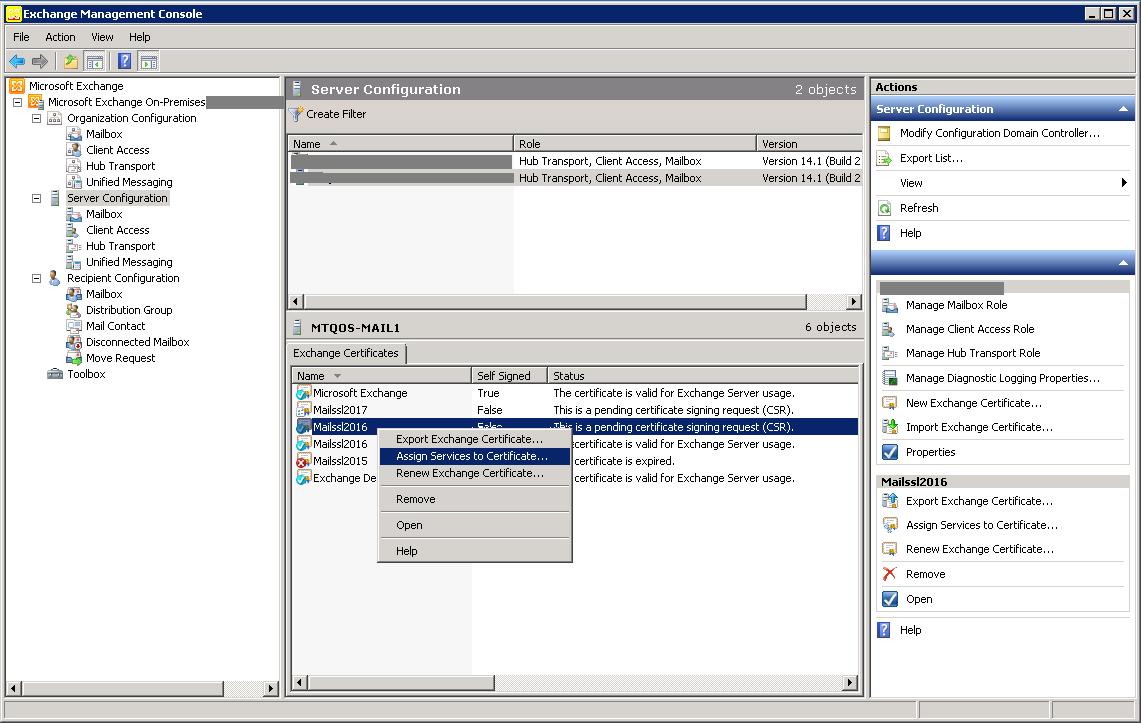
The new Exchange certificate should have a little blue tick on the icon now. The only thing remaining now is to assign Exchange services to this certificate. That’s easily done. Right click the certificate and choose Assign Services to Certificate…
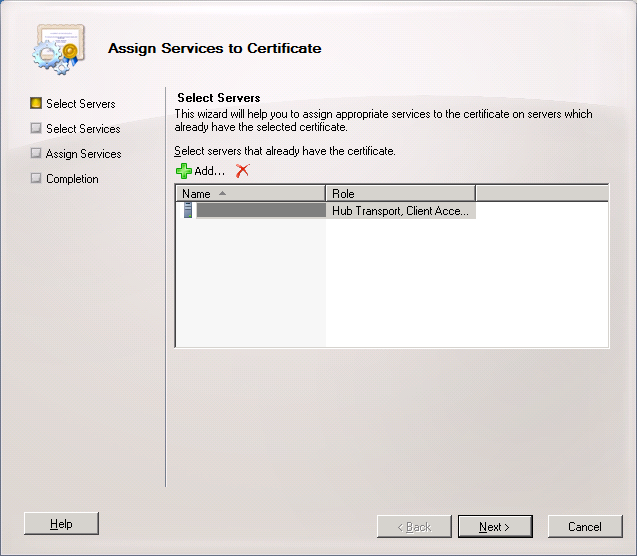
Step 14:
In the window that pops up, select your server and click Next.
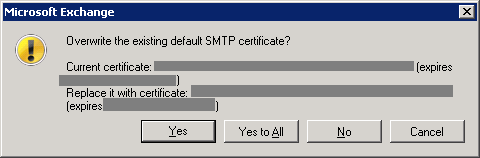
Select all appropriate services for this certificate. Click Next.

If you have some services already assigned to a different certificate, Exchange will ask you to confirm if you want to overwrite it with the new one. In my case, I do want to replace it, so I click Yes.
Guess what? That’s it! You’ve successfully installed a new SSL certificate for your Microsoft Exchange server.
(header image source: animalhi.com)


Leave a Comment